JSF 2.0 Ajax
This is the second compilation of the tutorial Java EE 7 enterprise application development tutorial using Eclipse Kepler and GlassFish 4. In this tutorial, I’ve enhanced the application to purely use the JSF 2 Ajax. As shown in the following diagram, I used Firebug to trace the Ajax request and response. As you see, jsf.js is the magic of JSF 2 Ajax.

As shown in the above figure, when you add a new department, without refreshing the entire page, it updates the table under the “submit” button.
Here the source for the facelet
<!DOCTYPE html PUBLIC "-//W3C//DTD XHTML 1.0 Transitional//EN"
    "http://www.w3.org/TR/xhtml1/DTD/xhtml1-transitional.dtd">

<html xmlns="http://www.w3.org/1999/xhtml"
    xmlns:ui="http://java.sun.com/jsf/facelets"
    xmlns:h="http://java.sun.com/jsf/html"
    xmlns:f="http://java.sun.com/jsf/core">
    <h:head>
        <title>department</title>
    </h:head>
    <body>
        <h:form id="dept\_form">
            <p>
                Department:
                <f:ajax render="dept\_name\_Message">
                    <h:inputText lable="department" id="dept\_name" value="#{dept.name}"/>
                    <h:message id="dept\_name\_Message" for="dept\_name"></h:message>
                </f:ajax>
            </p>
            <p>
                <!-- h:commandButton value="submit" action="#{dept.addDept()}"/-->
                <h:commandButton value="submit" action="#{dept.addDept()}">
                    <f:ajax render=":all\_depts"/>
                </h:commandButton>
            </p>
        </h:form>
        <span id="msg"></span>
        <h:dataTable id="all\_depts" value="#{dept.departments}" var="d">

            <h:column>
                <f:facet name="header">Dept Id</f:facet>
                <h:outputText value="#{d.deptId}">
                </h:outputText>

            </h:column>
            <h:column>
                <f:facet name="header">Department Name</f:facet>
                <h:outputText value="#{d.name}">
                </h:outputText>

            </h:column>

        </h:dataTable>
    </body>

</html>
It is important to point out the “<f:ajax render=":all_depts"/>” which will render the label belongs to this “all_depts”.
Here the source for the managed bean.
package au.com.blogspot.ojitha.eafirstweb.managedbeans;

import java.util.List;

import javax.ejb.EJB;
import javax.faces.bean.ManagedBean;
import javax.faces.bean.SessionScoped;

import org.hibernate.validator.constraints.NotEmpty;

import au.com.blogspot.ojitha.eafirstejb.DepartmentService;
import au.com.blogspot.ojitha.eafirstejb.domain.Department;

@ManagedBean(name="dept")
@SessionScoped
public class DepartmentManagedBean {
    @EJB(beanName="deptService")
    DepartmentService deptService;

    //This is the validation, when you change the focus (using tab key)
    //the default message will be displayed in the facelet.
    @NotEmpty
    private String name;

    public String getName() {
        return this.name;
    }


    public void setName(String name) {
        this.name = name;
    }

    public String addDept(){
        if (this.name!=null){
            this.deptService.save(this.name);
        }

        // this should be null otherwise, when user open the new tab in the same browser
        // this will be saved again.
        this.name=null;
        return "";
    }


    /\*\*
     \* Retrieve all the departments.
     \* This will be displayed in the datatable with the id=all\_depts
     \* @return
     \*/
    public List<Department> getDepartments() {
        return this.deptService.getAllDepartments();
    }

}
It is important to note that the session scope is important for the Ajax as I understood. If anybody can do this within the more narrowed @requestscope, your comments are well come.
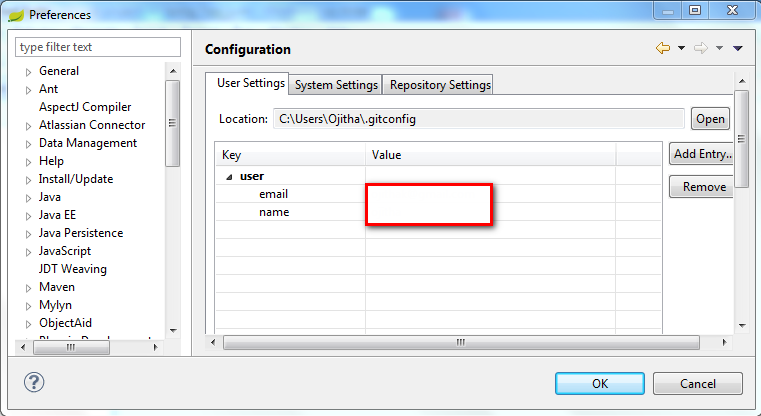
The source code of this blog is available in the GitHub.
Written with StackEdit.
Comments
Post a Comment
commented your blog